Discover a detailed roof installation guide with materials, step-by-step instructions, safety tips, and common mistakes to avoid for a successful roofing project.
When it comes to home improvement projects, few are as significant as installing a new roof. A well-installed roof not only enhances the aesthetic appeal of your home but also provides critical protection against the elements. Whether you’re considering a DIY project or planning to hire professionals, understanding the roofing installation process is essential. This comprehensive roof installation guide will walk you through everything you need to know, from choosing materials to ensuring safety.
For professional and reliable roofing installation, consider our Roof Installation Services. Our expert team ensures a seamless and durable installation, using high-quality materials and industry best practices. Whether you’re replacing an old roof or installing a new one, we provide comprehensive solutions tailored to your needs. Click here to learn more about our top-rated roof installation services.
Understanding the Basics of Roofing Installation
Types of Roofing Materials
Before diving into the installation process, it’s crucial to choose the right roofing material for your home. Here are some common options:
- Asphalt Shingles: Popular for their affordability and ease of installation. They come in a variety of colors and styles, making them versatile for different architectural designs.
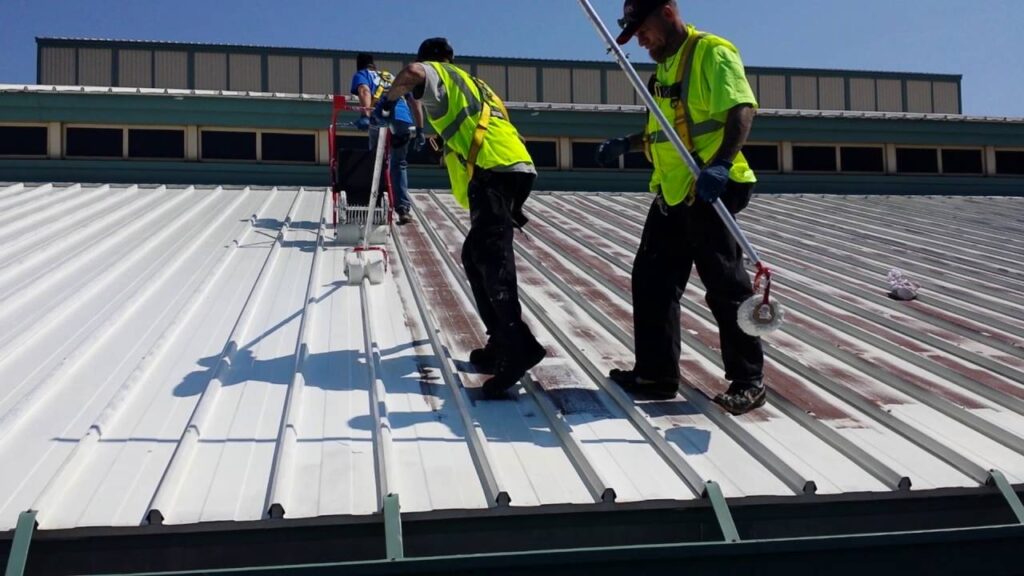
- Metal Roofing: Known for its durability and longevity. Metal roofs can withstand harsh weather conditions and are fire-resistant.
- Tile Roofing: Offers a classic look and is highly durable. However, tile roofing is heavy and may require additional structural support.
- Wood Shingles and Shakes: Provide a natural, rustic appearance. They require more maintenance but offer excellent insulation.
- Slate Roofing: Extremely durable and long-lasting. Slate roofs are expensive and heavy but provide a distinct, elegant look.
Preparing for Roof Installation
Proper preparation is key to a successful roofing installation. Here’s what you need to do:
- Inspection: Start by inspecting your current roof. Look for any signs of damage, such as leaks, mold, or rot. Addressing these issues beforehand can prevent problems during installation.
- Permits: Check with your local building authority to see if you need any permits for roof installation. Complying with regulations ensures your project goes smoothly.
- Weather: Plan your installation during a period of favorable weather. Avoid rainy or excessively windy days, as these conditions can complicate the process.
Step-by-Step Roof Installation Process
1. Removing the Old Roof
The first step in the roof installation process is removing the old roofing material. This involves:
- Stripping Off Shingles: Use a roofing shovel or pitchfork to carefully remove old shingles. Start at the top and work your way down, ensuring you don’t damage the underlying structure.
- Disposing of Debris: Collect and dispose of all debris properly. Renting a dumpster can make this task easier.
2. Inspecting the Roof Deck
Once the old roof is removed, inspect the roof deck for any damage. Look for signs of rot, mold, or structural issues. Replace any damaged sections to ensure a solid foundation for your new roof.
3. Installing Roofing Underlayment
Roofing underlayment acts as a moisture barrier and provides an extra layer of protection. Here’s how to install it:
- Roll Out the Underlayment: Start at the bottom edge of the roof and roll out the underlayment horizontally. Ensure it’s flat and smooth, without any wrinkles.
- Overlap Edges: Overlap each row of underlayment by about 6 inches to ensure complete coverage.
- Secure the Underlayment: Use roofing nails or staples to secure the underlayment in place. Be careful not to damage it during installation.
4. Installing the Roofing Material
Now it’s time to install the roofing material of your choice. Here’s a brief overview of the process for different materials:
- Asphalt Shingles: Start at the bottom edge of the roof and work your way up. Overlap each row of shingles and secure them with roofing nails. Use a chalk line to ensure straight rows.
- Metal Roofing: Lay the metal panels vertically, starting at the bottom edge. Secure them with screws, ensuring each panel overlaps the previous one. Use metal trim to cover edges and seams.
- Tile Roofing: Install a batten system to support the tiles. Lay the tiles starting at the bottom edge and work your way up, securing each tile with nails or clips.
- Wood Shingles and Shakes: Install a starter course at the bottom edge. Lay each shingle or shake, overlapping the previous row, and secure with nails.
- Slate Roofing: Start at the bottom and work your way up, overlapping each row. Secure each slate tile with nails, ensuring they’re evenly spaced.
5. Installing Roof Flashing
Roof flashing is crucial for preventing water leaks around roof features such as chimneys, vents, and skylights. Here’s how to install it:
- Cut the Flashing: Measure and cut the flashing to fit around the roof features.
- Secure the Flashing: Use roofing nails or screws to secure the flashing in place. Ensure it’s snug against the roof surface to prevent water infiltration.
- Seal the Edges: Apply roofing cement or sealant around the edges of the flashing to create a watertight seal.
6. Installing Roof Vents
Proper ventilation is essential for the longevity and efficiency of your roof. Here’s how to install roof vents:
- Cut Vent Openings: Use a saw to cut openings for the vents in the roof deck.
- Install the Vents: Place the vents over the openings and secure them with roofing nails or screws. Ensure they’re properly aligned and sealed.
- Seal Around the Vents: Apply roofing cement or sealant around the edges of the vents to prevent leaks.
7. Finishing Touches
After the main roofing material and features are installed, finish the job with these steps:
- Install Ridge Cap: Lay ridge cap shingles or metal along the roof ridge to protect the peak. Secure them with roofing nails or screws.
- Inspect the Roof: Carefully inspect the entire roof for any loose nails, gaps, or issues. Address any problems immediately to ensure a secure and watertight roof.
- Clean Up: Remove any remaining debris from the roof and surrounding area. Properly dispose of waste materials and ensure the site is clean and safe.
Roofing Installation Tips
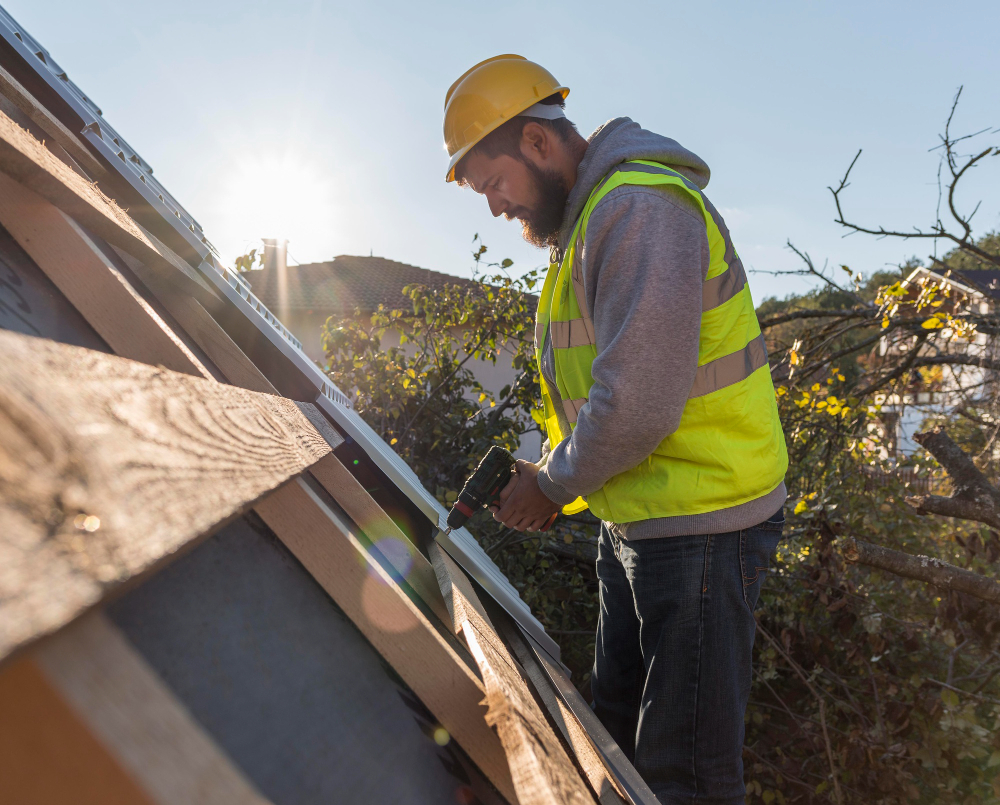
- Safety First: Always prioritize safety when working on a roof. Use proper safety gear, such as harnesses and non-slip shoes, and never work alone.
- Follow Manufacturer Instructions: Adhere to the manufacturer’s guidelines for the roofing materials you’re using. This ensures proper installation and warranty coverage.
- Check the Weather: Monitor the weather forecast to avoid working in unfavorable conditions. Extreme heat, cold, or rain can affect the installation process and the quality of your work.
- Hire Professionals: If you’re unsure about any aspect of the roofing installation process, consider hiring professional roofers. They have the experience and expertise to ensure a flawless installation.
Common Roofing Installation Mistakes to Avoid
- Incorrect Nail Placement: Placing nails too high or too low on shingles can lead to leaks and shingle blow-offs. Follow the manufacturer’s recommendations for nail placement.
- Insufficient Overlapping: Failing to overlap shingles, underlayment, or flashing properly can result in water infiltration and damage.
- Ignoring Ventilation: Inadequate roof ventilation can lead to moisture buildup, mold growth, and reduced roof lifespan. Ensure proper ventilation to maintain a healthy roof.
- Neglecting Flashing: Poorly installed flashing can cause leaks around roof features. Take the time to install flashing correctly and seal it properly.
- Rushing the Job: Roofing installation requires precision and attention to detail. Rushing the process can result in mistakes that compromise the integrity of your roof.
Conclusion
A well-executed roofing installation not only enhances your home’s curb appeal but also provides essential protection against the elements. By following this comprehensive roof installation guide, you can ensure a successful project, whether you’re tackling it yourself or hiring professionals. Remember to choose the right roofing material, follow proper installation steps, and prioritize safety throughout the process. With careful planning and execution, your new roof will serve you well for years to come.


