Learn how to install vinyl board and batten siding with this easy step-by-step guide. Transform your home’s exterior with this durable and stylish option.
Installing vinyl board and batten siding can enhance your home’s appearance while providing protection from the weather. This popular siding option offers a classic look and is low maintenance, making it an excellent choice for homeowners. In this guide, we will walk you through the entire process how to install vinyl board and batten siding, from preparation to finishing touches.
Table of Contents
Understanding Vinyl Board and Batten Siding
What is Board and Batten Siding?
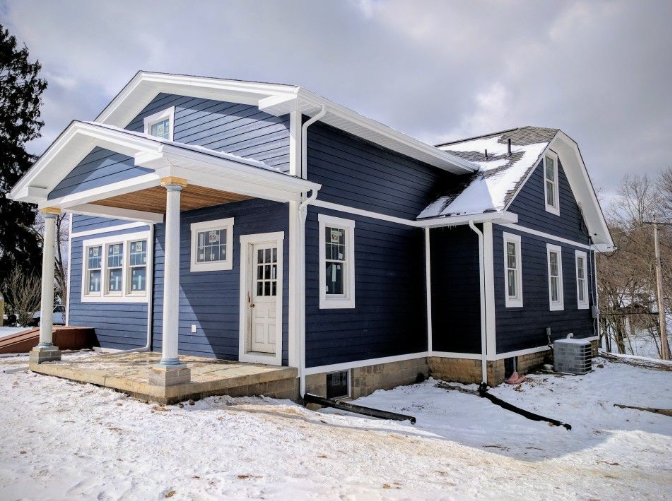
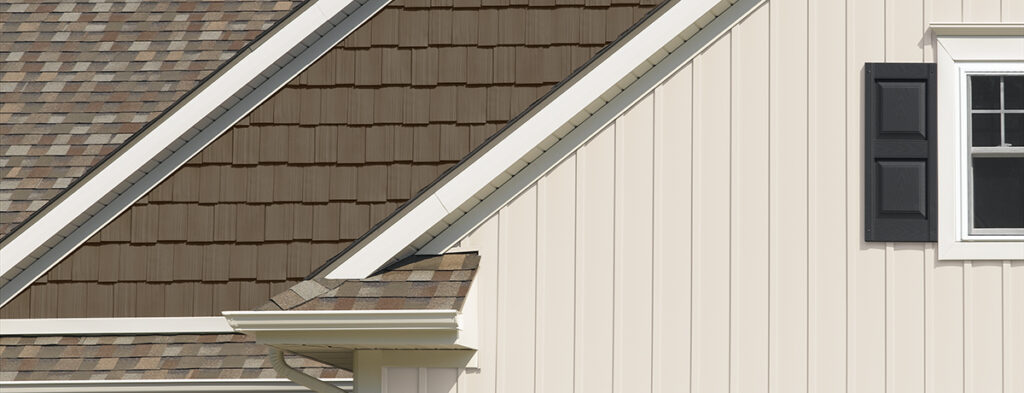
Board and batten siding features wide, flat boards with narrow strips (called battens) covering the seams. Traditionally made of wood, vinyl board and batten siding mimics this design while being more durable and easier to maintain.
Benefits of Vinyl Board and Batten Siding
Vinyl siding is not only attractive but also resistant to rot and insects. It doesn’t require painting or sealing, which means less upkeep for you. Additionally, vinyl is lightweight and easy to install, making it a popular choice for DIY projects.
Preparation Before Installing Vinyl Siding
Assess and Prepare the Surface
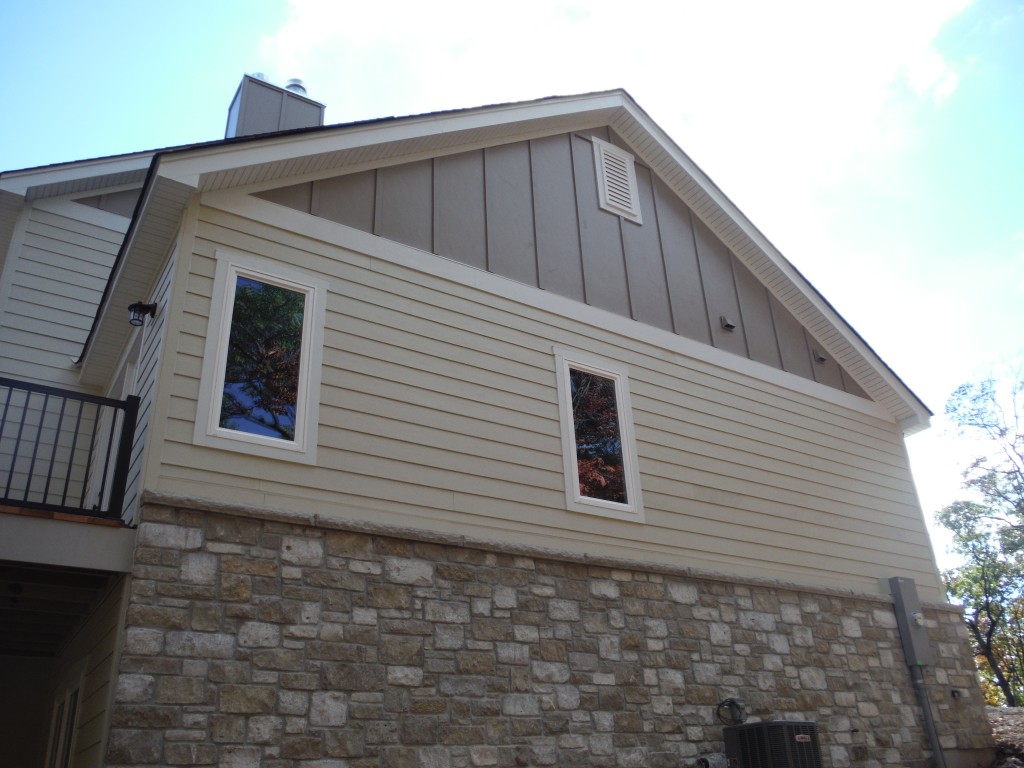
Before starting your siding installation, inspect your walls for damage. Make sure the surface is smooth and dry. Fill any cracks or holes to create a stable foundation for the siding.
Gather Your Tools and Materials
To install vinyl board and batten siding, you will need specific tools and materials:
- Tools Needed: Circular saw or hand saw, hammer or nail gun, measuring tape, level, chalk line, utility knife, safety glasses, and gloves.
- Materials Needed: Vinyl board and batten siding panels, starter strip, J-channels (for edges and around windows and doors), corner posts, and siding nails or screws.
Step-By-Step Installation Process
Step 1: Install the Starter Strip
The starter strip is essential for securing the bottom row of siding. To install it:
- Measure and mark where the starter strip will go.
- Use a chalk line to draw a straight line along the bottom of the wall.
- Nail the starter strip in place along this line, leaving a small gap for expansion.
Step 2: Install Corner Posts and J-Channels
Corner Posts
Install corner posts at each corner of your wall for support. Make sure they are straight using a level and secure them with nails.
J-Channels
These are used around windows and doors. Cut the J-channels to size and nail them in place, ensuring a snug fit around all openings.
Step 3: Cut and Fit the Siding Panels
Measure each section of wall where the siding panels will go. Cut the panels using a circular saw or utility knife. Remember to wear safety gear when cutting vinyl.
Step 4: Begin Installing the Panels
Start with the first row of boards, snapping them into the starter strip. Nail each panel securely, leaving a little space between the nail head and the siding to allow for movement.
Step 5: Install the Battens
Once the boards are secured, place the battens over the seams between each board. Align them properly and secure with nails, leaving gaps for expansion.
Step 6: Work Around Windows and Doors
Fit the panels carefully around windows and doors. Measure and cut the panels to fit snugly within the J-channels. This provides a clean and completed appearance.
Step 7: Finish with the Top Row
When you reach the top of the wall, measure and cut the panels to fit. If necessary, trim the top row panels to ensure they fit perfectly.
Final Steps and Inspection
Once all panels and battens are installed, take a moment to inspect your work. Ensure everything is secure and aligned. Check for gaps or misalignments that may need correction.
Maintenance Tips for Vinyl Board and Batten Siding
Although vinyl siding is low-maintenance, periodic cleaning is essential. Use a soft brush and mild soap to remove dirt and grime. Avoid using high-pressure washers because they can damage the siding. Regularly inspect for any signs of damage and address repairs promptly.
Additional Tips for a Professional Finish
- Allow for Expansion: Vinyl expands and contracts with temperature changes, so always leave slight gaps for movement.
- Double-Check Measurements: Accurate measurements will ensure a clean look, especially around windows, doors, and corners.
- Choose the Right Color: Vinyl board and batten siding comes in various colors. Choose one that complements your home’s style.
Cost and Time Considerations To Vinyl Board and Batten Siding
Vinyl siding is typically less expensive than wood siding. However, the cost can vary based on the quality and brand of the siding you choose. If you decide to install it yourself, the time commitment can range from a few days to a week, depending on your experience and the size of your home.
Why Choose Vinyl Over Traditional Wood?
Vinyl board and batten siding provides a similar aesthetic to wood but with fewer maintenance requirements. It’s more durable, resistant to water and pests, and often comes at a lower cost in the long run.
Conclusion
Installing vinyl board and batten siding can significantly improve your home’s appearance and durability. By following this step-by-step guide on how to install vinyl board and batten siding, you can complete the project successfully, whether you’re a seasoned DIYer or a beginner. With a little patience and attention to detail, you’ll end up with a beautiful exterior that enhances your home’s value and curb appeal.
If you’re considering professional assistance for your siding installation or need other roofing and siding services, Not Just Roofs, LLC is here to help! Our staff is committed to delivering high-quality workmanship and customer satisfaction. For more information call us at 812-200-9876. Let’s make your home beautiful together!

Craig David
Welcome to my blog! I am a seasoned content writer with over 10 years of experience creating engaging and informative content across a range of industries. Currently, I am collaborating with Not Just Roofs LLC to deliver blogs that educate and empower readers in maintaining and improving their homes. In this series, I’ll share practical tips, roofing advice, and expert guidance to help you make informed decisions about your roofing and home improvement needs.

