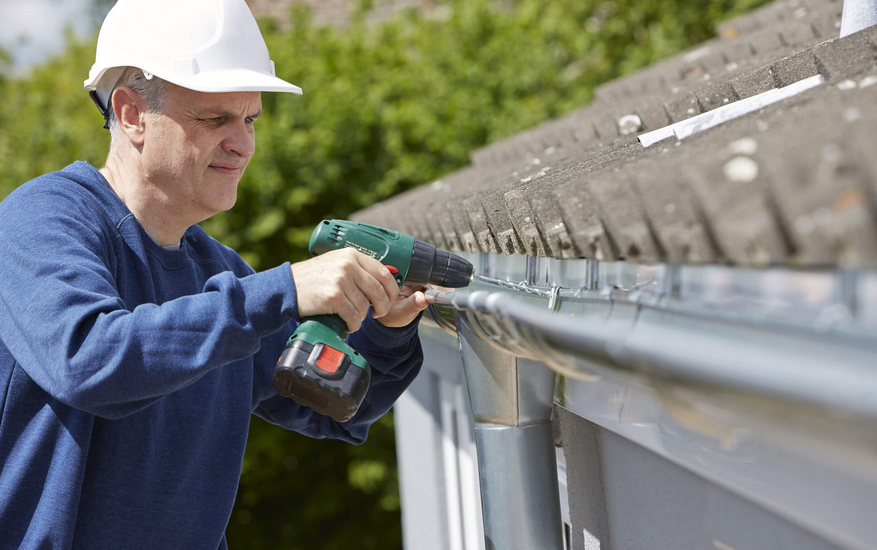
Gutters are essential for safeguarding your home from water damage by channeling rainwater away from the foundation. Gutter installation process may seem like a daunting task, but with the right tools and steps, it’s a project you can tackle on your own. In this guide, we’ll walk you through how to install gutters, making it easy and straightforward.
Table of Contents
Tools and Materials Needed
Before starting your DIY gutter installation, gather the following tools and materials:
- Measuring tape
- Ladder
- Chalk line
- Drill and screwdriver bits
- Hacksaw or miter saw
- Gutter sections and downspouts
- Gutter brackets or hangers
- Screws and sealant
- Elbows and end caps
- Safety gloves and goggles
Steps for Gutter Installation
Follow these step-by-step instructions how to install gutters effectively:

1. Measure Your Roof’s Perimeter
Start by measuring the roofline where you’ll install the gutters. Use a measuring tape to determine the length of gutters needed. Take note of downspout locations—they should be placed near the corners or areas with the best water drainage.
Pro Tip: For roofs longer than 40 feet, install a downspout at both ends for efficient water flow.
2. Plan the Slope
Gutters should be installed with a slight incline to allow water to flow smoothly towards the downspouts. A slope of 1/4 inch for every 10 feet is ideal. Use a chalk line to mark this slope along your fascia board, starting higher at one end and tapering downward toward the downspout.
3. Prepare the Fascia Board
Inspect the fascia board to ensure it’s sturdy enough to support the gutters. Repair or replace any damaged sections. If the fascia is in good condition, attach a strip of flashing to protect it from water damage.
4. Install Gutter Brackets
Using the chalk line as a guide, mark the positions for the gutter brackets. Space them about 24 to 36 inches apart for adequate support. Create pilot holes using a drill and fasten the brackets in place with screws.
Note: Ensure the brackets follow the slope marked earlier to maintain proper water flow.
5. Cut and Assemble Gutter Sections
Trim the gutter sections to match the length of your roofline and make precise cuts. Use a hacksaw or miter saw for clean cuts. Assemble the sections on the ground, attaching elbows and end caps as needed.
Tip: Use sealant to secure connections and prevent leaks.
6. Attach the Gutters
Carefully lift the assembled gutter sections and place them into the brackets. Secure the gutters to the brackets using screws. Ensure they align with the slope marked earlier.
7. Install Downspouts
Attach the downspouts to the gutter openings using elbows. Secure the downspouts to the wall with brackets, spacing them about every 6 to 8 feet. Ensure the bottom of the downspout directs water away from the foundation.
Pro Tip: Add a splash block or extender at the base of the downspout to channel water further away from your home.
8. Test Your Installation
After completing the installation, test the gutters by running water through them with a garden hose. Check for leaks and ensure the water flows smoothly toward the downspouts.
9. Seal and Secure
Seal any gaps or joints with a high-quality gutter sealant to prevent leaks. Double-check all screws and brackets to ensure they are secure.
Tips for Successful Gutter Installation
- Safety First: Always use a sturdy ladder and have someone assist you when working at heights.
- Use High-Quality Materials: Invest in durable gutters and brackets to ensure long-term performance.
- Regular Maintenance: Clean your gutters regularly to prevent clogs and ensure they function properly.
Common Mistakes to Avoid
- Ignoring the Slope: Gutters without a proper slope can cause water to pool and overflow.
- Inadequate Support: Failing to install enough brackets can lead to sagging gutters.
- Incorrect Downspout Placement: Downspouts should be strategically placed to direct water away from your home’s foundation.
Why DIY Gutter Installation is Worth It
Installing your gutters can save you money and give you a sense of accomplishment. Plus, it allows you to customize the system to meet your home’s specific needs. However, if you’re unsure about any step or lack the necessary tools, don’t hesitate to consult a professional.
FAQs
Can I install gutters without professional help?
Yes, with the right tools and guidance, you can install gutters yourself. However, for complex roof designs or multi-story homes, hiring a professional may be safer and more efficient.
How much does it cost to install gutters yourself?
The cost of DIY gutter installation depends on the materials used. On average, expect to spend $3 to $5 per linear foot for materials, compared to $8 to $12 per linear foot for professional installation.

Craig David
Welcome to my blog! I am a seasoned content writer with over 10 years of experience creating engaging and informative content across a range of industries. Currently, I am collaborating with Not Just Roofs LLC to deliver blogs that educate and empower readers in maintaining and improving their homes. In this series, I’ll share practical tips, roofing advice, and expert guidance to help you make informed decisions about your roofing and home improvement needs.
